Let's start with a bit of context. The home theater renovation featured in this post took place back in 2015. As someone dealing with late-stage lazy cancer, it's taken me a couple of years to finally get around to documenting it. Back then, I was completely clueless about home theaters, but I was determined to turn my dream into reality. I started by learning everything I could, from wiring to equipment selection, and eventually moved on to assembly. Now, I’m ready to share what I’ve learned with others. Hopefully, this will help some fellow enthusiasts.
Why install a home theater? Well, I may not be a true movie buff, but I do enjoy the occasional film. Over the last couple of years, the most satisfying addition to my setup has been this projector system. Being able to relax on the couch with some snacks and a great picture is incredibly enjoyable. It’s just unfortunate that 4K wasn’t more mainstream back in 2015 when I set this up. People doubted its popularity, saying there weren’t enough sources and it was too expensive. But now, I can’t imagine going back to anything less than 4K—it’s just that crisp!
Now let’s dive into the components of a home theater and the basic wiring principles.
1. Amplifier
The amplifier essentially acts as a transit station for both audio and video signals while boosting the power. Naturally, it requires a power supply.
Input sources can vary—DVD players, high-definition players, standalone audio devices, etc. The cables range from the old-school red, white, and blue wires to modern HDMI cables (which transmit both audio and video simultaneously), as well as optical audio cables (for TV audio input) and RCA analog audio cables (used for headphone jack inputs), depending on your device.
For outputs, there’s video and audio. Video can be directed to a TV or a projector, while audio goes to the speakers.
2. 5.1 Speakers
A 5.1 speaker setup includes five main speakers: a center speaker, left and right front speakers, left and right surround speakers, plus a subwoofer for bass.
Speakers don’t require power themselves—they’re passive. They connect via speaker wires to the amplifier. For aesthetic purposes, darker cables are often used for speakers further from the amp (typically rear speakers and subwoofers), while shorter runs to nearby front speakers can be simpler.
Placement can vary based on personal preference and room acoustics. Pre-planning is key—consider whether you’ll mount the speakers or use stands, and ensure the speaker wires reach their intended positions without obstruction. I made a rookie mistake here. Initially, I planned to hang them but ended up using stands instead, leaving the wires exposed—a costly oversight.
3. Projector
Projectors need dedicated ports for high-definition connections and power outlets. Proper planning is essential for optimal performance:
- **X-axis alignment**: Align the projector with the centerline of your seating area.
- **Y-axis height**: This depends on the projection lens height and screen dimensions.
The formula for calculating the lens height is:
Height = (Screen height) + (Vertical offset) + (Vertical lens shift range).
- **Screen height**: Calculate this using the sofa height and viewer eye level, typically around 110cm. This value is crucial for determining the final lens height.
- **Screen size**: Depends on the projector specs and throw distance. Larger screens are preferable, but avoid placing them too close, as it can cause discomfort.
Examples:
- For a 100-inch screen: Length = 87.16 inches (221.39 cm), Height = 49.03 inches (124.54 cm).
- Vertical offset and lens shift range vary by model—refer to the manual for specifics.
Here are the specs for Epson 5200 and BenQ i700:
- **Epson 5200**: [Image link]
- **BenQ i700**: [Image link]
4. Curtains
Curtains are critical for a proper home theater experience.
- **Power supply**: Electric curtains require power. Imagine having an ugly black power cord hanging everywhere—it’s unattractive and impractical.
- **Curtain droop**: Ensure the TV is mounted properly and the cabinet is short enough to allow curtains to open fully.
- **Positioning**: Ideally, the curtain’s centerline should align with eye level (around 110cm), but practical constraints may force adjustments. My TV cabinet is 50cm tall, so the centerline ended up at 127cm, making the projector angle upward.
Second, here are my assembly results:
1. Wiring
- **TV Background Wall**:
[Image]
Behind the TV, I left an HD port (black), speaker ports (transparent stack), and a 50mm PVC pipe (with upper and lower holes).
About the HD cable: Many recommend two cables for redundancy, but I chose cost-effective options—a cheaper one from Akihabara and a slightly more expensive Yamazawa engineering-grade cable. Now, I regret not investing more in quality. For lengths, measure the actual distance and add a buffer.
- **Speaker Cables**: Two cables—one for each side—are essential. I bought Akihabara, but transferring the extra cable taught me a lesson.
- **PVC Pipes**: Pre-installed for all cables running from the wall-mounted TV, including power lines, to avoid exposed wires.
Remember to leave a power outlet at the top when installing electric curtains!
- **Sofa Wall**:
[Image]
On the sofa wall, I added an HD port and power outlet, with surround speaker ports on either side. Plan the speaker layout carefully—walls or columns can affect acoustics.
2. Installation & Placement
- **Projector and Surround Sound**:
[Image]
Ignore the messy speaker wires due to my early setup issues. The projector mount was purchased from Taobao for $299. The speaker mounts were simple to assemble.
- **Front Speakers, Amplifier, and Curtains**:
[Image]
The left and right speakers were originally meant to align with ear level but were placed on the TV cabinet to avoid obstructing the projection.
Curtains were installed by a professional for $400. Always remember to leave a power outlet for curtains—it’s a costly lesson to learn otherwise.
3. Connection
Assembling everything is straightforward:
Focus on the amplifier:
[Image]
Connect inputs and outputs:
[Image]
This setup is simple once completed.
Tip: My amplifier has only one HDMI output, so switching between TV and projector required frequent line changes. Later, I discovered an HDMI splitter, solving this issue: one output splits into two, connecting to both TV and projector simultaneously without needing to rewire.
[Image]
[Image]
HDMI Splitter: $19.99
Equipment Purchases:
1. Amplifier – Harman Kardon AVR151
2. Speaker Combo – Harman/Kardon HKTS 30 BQ
Speakers are expensive, and I bought based on suit compatibility. The total cost was $6700, but prices have since dropped by $500.
3. Projector – BenQ i700
$5999
I bought this during an Amazon sale and received three pairs of 3D glasses, though they’re rarely used.
4. Curtains – Ying Hui HD01 Electric Curtains
$2100
Initially, I wanted to save money by investing directly in the wall, but the large projection caused dizziness. A professional insisted on curtains for optimal performance. I eventually settled on Taobao after hearing positive feedback.
Experience and Surroundings:
1. Projection Size: My living room is small, so I initially aimed for a massive projection. The 120-inch curtain worked fine, but I reduced the area for better viewing.
Living Room Width: 3760mm, Projection Distance: 3360mm.
2. Input Devices: I use a HaimeiDi TV box. While I’ve tried multiple versions, the slow performance over time has been frustrating. Avoid upgrading unless necessary.
3. Local Audio/Video Resources: I use Thunder Download with a mobile hard drive. It’s compact, user-friendly, and supports seamless wireless connections.
Conclusion:
Finally, an entry-level home theater experience is complete. Please forgive my poor writing.
Wishing all movie lovers can find their own cinematic world, regardless of life’s joys and sorrows.


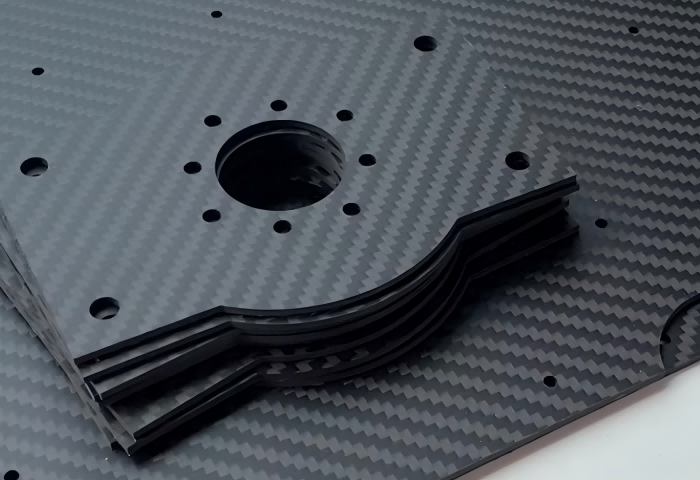
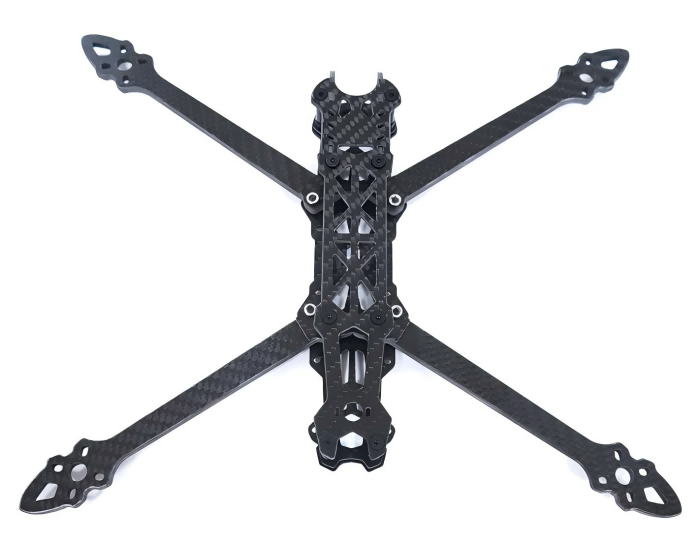
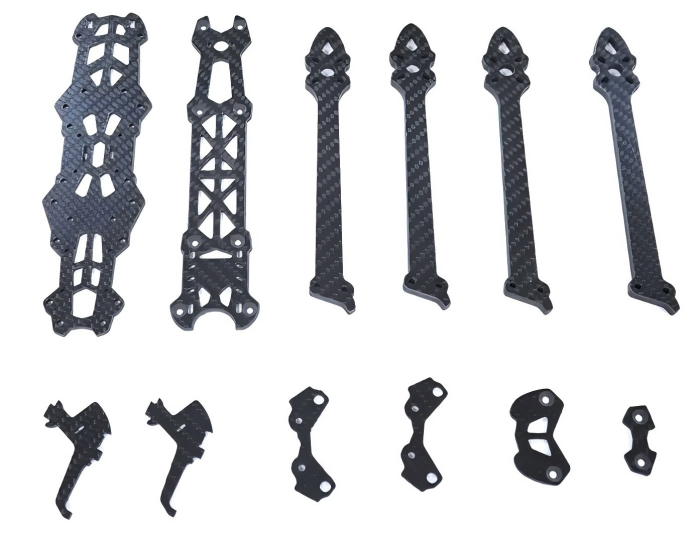
FPV Drone TrueX Frame Overview
Mark4 V2 Mark4 7inch 295mm / 8inch 367mm / 9inch 387mm / 10inch 427mm 3K Full Carbon Fiber TrueX Frame for FPV Camera Kit Done:
Mark4 V2 Mark4 7inch 295mm / 8inch 367mm / 9inch 387mm / 10inch 427mm 3K Full Carbon Fiber TrueX Frame for FPV Camera Kit Done:


Carbon Fiber FPV Drone Frame,FPV Drone TrueX Frame,Carbon Fiber FPV Frame
Jiangsu Yunbo Intelligent Technology Co., Ltd , https://www.fmodel-ai.com