In the current era of well-developed networks, it is difficult for us to resist the impact of information. We always want to sneak a Weibo or watch news during work hours to be on the front line of the trend! However, at this moment, the most feared boss is quietly behind him, the terror index can be compared with the class teacher who suddenly appeared outside the door.
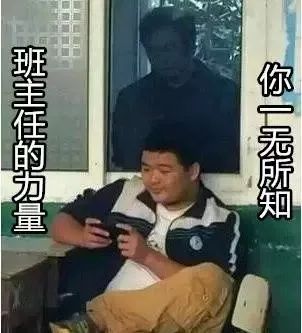
After a cold sweat, he switched to the screen immediately! Pretend to work hard! But everything is too late, your small movements are seen by the boss and remembered in your heart ...
Therefore, in order to avoid the boss's monitoring, a Japanese programmer has built a system that can identify the boss who is coming towards you gradually, and automatically hide the screen being browsed.
Specifically, the system uses a neural network based on Keras to learn to recognize the face. The web camera is used to determine whether the target object is close and switch the screen based on the judgment. The following is the compilation of this project by Onzhi.
Task overview
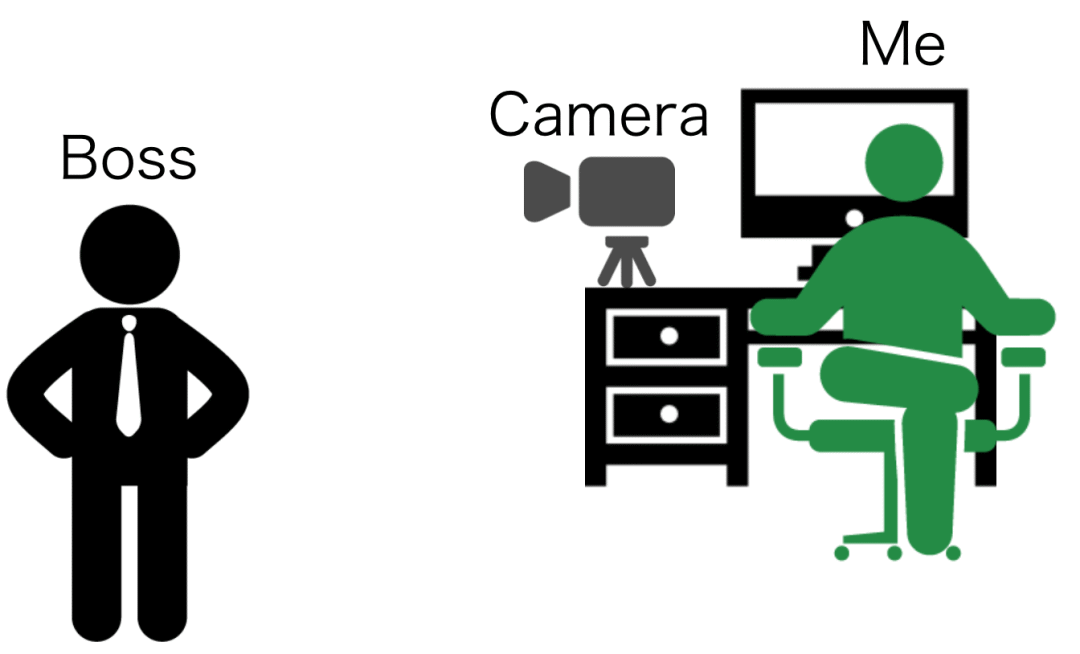
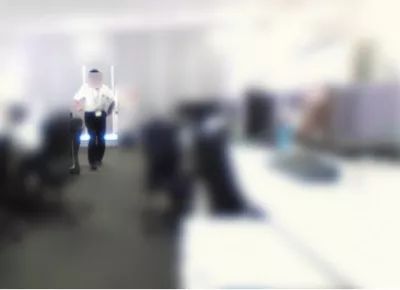
The goal of this task is that when the boss approaches me, the screen can automatically switch to work-related content. The position of my boss and me is roughly as follows:

The distance from his seat to my seat is about 6 ~ 7 meters, and it only takes 4 ~ 5 seconds. So I have to let the system complete a series of actions in a few seconds.
Develop strategies
First, let the computer master the boss's face through deep learning. Then, I set up a camera on my work station, and when the boss ’s face was captured, the screen could be switched automatically. I call this system "Boss Sensor", it is perfect!
system structure
The simple structure of "Boss Sensor" is as follows:
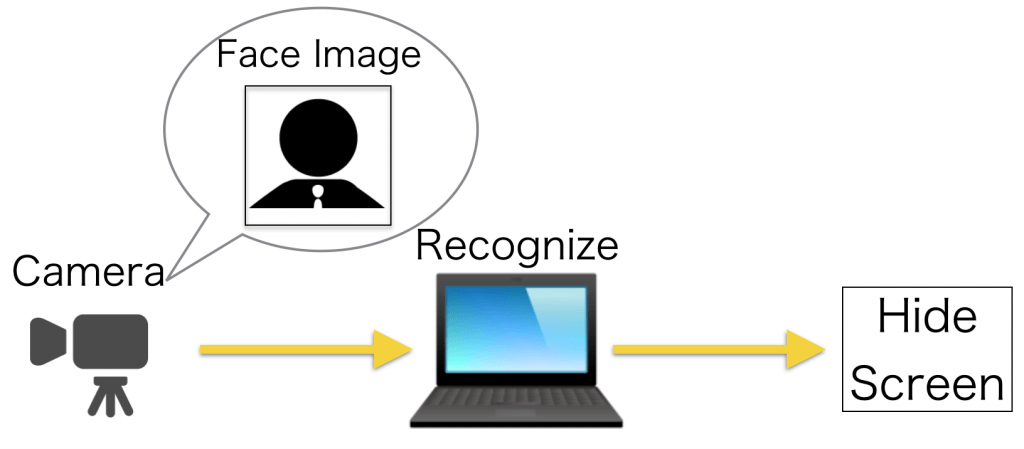
The camera can capture images in real time
The learned model detects and recognizes the boss's face from the captured images
Switch screen after confirmation
Simply put, it is to take pictures, identify and switch screens. Let us explain step by step.
Take a face photo
Here, I used BUFFALO BSW20KM11BK as a shooting tool.
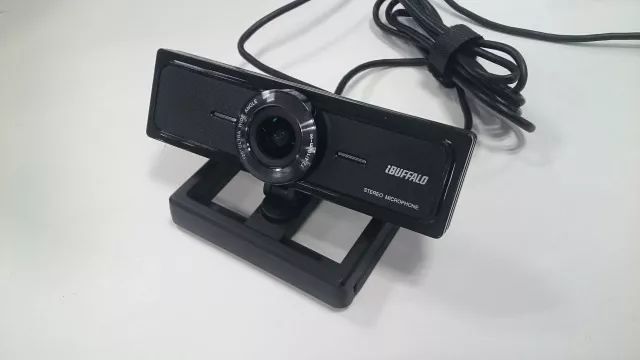
You can also use the camera's own software to shoot, but considering the post-processing, it is better to shoot with a self-made program. Similarly, because face recognition will be processed next, it is necessary to cut the picture into parts with only faces. So I used Python and OpenCV to capture face images. The code is here: github.com/Hironsan/BossSensor/blob/master/camera_reader.py
As a result, I got a clearer picture than I thought.
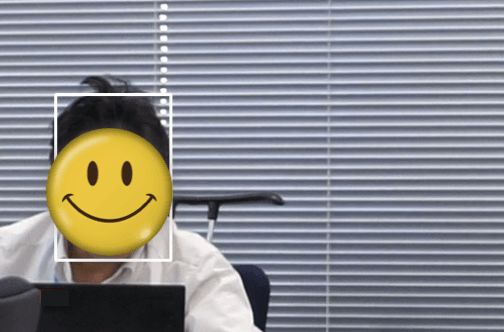
Recognize the boss's face
Next, we use machine learning to identify the face of the boss in three steps:
Collect photos
Preprocess photos
Building a machine learning model
Collect photos
First of all, I need to collect a lot of photos of the boss for learning. There are three collection methods:
Google search
Search from Facebook
Take a video
The first two methods can find very few photos, so I use the method of shooting video, and then break the video into many photos.
Preprocess photos
Although I got a lot of facial pictures, learning the model did not achieve the desired results. This is because there is still content irrelevant to the face in the photo, so we have to crop out the irrelevant content, leaving only the face. Here I use ImageMagick ().
The final facial photos collected are as follows:

Now it's time to let the model learn!
Building a machine learning model
Keras is used to build a convolutional neural network (CNN), and TensorFlow is used as the back end of Keras. If it is only used to recognize the face, you can request a network API like Computer Vision API for image recognition, but this time I decided to DIY myself.
The framework of the network is shown below. Keras is very convenient because it can easily output this structure:
____________________________________________________________________________________________________
Layer (type) Output Shape Param # Connected to
================================================== ==================================================
convolution2d_1 (Convolution2D) (None, 32, 64, 64) 896 convolution2d_input_1 [0] [0]
____________________________________________________________________________________________________
activation_1 (Activation) (None, 32, 64, 64) 0 convolution2d_1 [0] [0]
____________________________________________________________________________________________________
convolution2d_2 (Convolution2D) (None, 32, 62, 62) 9248 activation_1 [0] [0]
____________________________________________________________________________________________________
activation_2 (Activation) (None, 32, 62, 62) 0 convolution2d_2 [0] [0]
____________________________________________________________________________________________________
maxpooling2d_1 (MaxPooling2D) (None, 32, 31, 31) 0 activation_2 [0] [0]
____________________________________________________________________________________________________
dropout_1 (Dropout) (None, 32, 31, 31) 0 maxpooling2d_1 [0] [0]
____________________________________________________________________________________________________
convolution2d_3 (Convolution2D) (None, 64, 31, 31) 18496 dropout_1 [0] [0]
____________________________________________________________________________________________________
activation_3 (Activation) (None, 64, 31, 31) 0 convolution2d_3 [0] [0]
____________________________________________________________________________________________________
convolution2d_4 (Convolution2D) (None, 64, 29, 29) 36928 activation_3 [0] [0]
____________________________________________________________________________________________________
activation_4 (Activation) (None, 64, 29, 29) 0 convolution2d_4 [0] [0]
____________________________________________________________________________________________________
maxpooling2d_2 (MaxPooling2D) (None, 64, 14, 14) 0 activation_4 [0] [0]
____________________________________________________________________________________________________
dropout_2 (Dropout) (None, 64, 14, 14) 0 maxpooling2d_2 [0] [0]
____________________________________________________________________________________________________
flatten_1 (Flatten) (None, 12544) 0 dropout_2 [0] [0]
____________________________________________________________________________________________________
dense_1 (Dense) (None, 512) 6423040 flatten_1 [0] [0]
____________________________________________________________________________________________________
activation_5 (Activation) (None, 512) 0 dense_1 [0] [0]
____________________________________________________________________________________________________
dropout_3 (Dropout) (None, 512) 0 activation_5 [0] [0]
____________________________________________________________________________________________________
dense_2 (Dense) (None, 2) 1026 dropout_3 [0] [0]
____________________________________________________________________________________________________
activation_6 (Activation) (None, 2) 0 dense_2 [0] [0]
================================================== ==================================================
Total params: 6489634
The code is here: github.com/Hironsan/BossSensor/blob/master/boss_train.py
So far, as long as the boss appears under the camera lens, the system can recognize him.
Switch screen
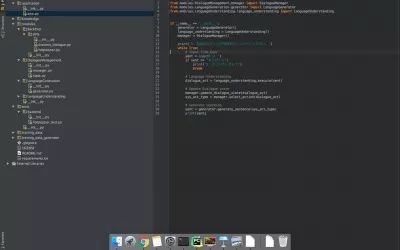
Now that the learned model can recognize the boss's face, the next step is to switch the screen. First put a photo pretending to be working, because I am a programmer, so the following is my normal work:

If you want to display this picture in full screen, you can use PyQt, the code is here: github.com/Hironsan/BossSensor/blob/master/image_show.py
OK, everything is ready.
Finished product display
Combining the above technologies, our work is completed. Next let's experiment.
The boss left his seat and came to me
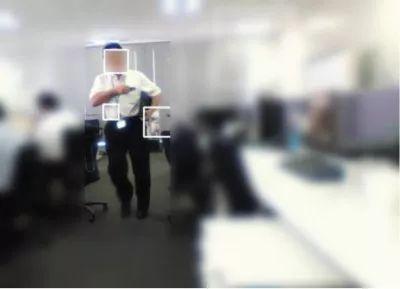
OpenCV detected his face and entered a picture into the model
Screen switching is successful!
in conclusion
Currently, I use OpenCV for facial recognition, but due to the low accuracy of OpenCV, I plan to try Dlib to improve the accuracy. I also want to try my own face detection model. In addition, since the picture captured by the camera is not accurate, I will improve it.
postscript
At present, it is known that some people have already made a demo of the project, and after improvement, they can directly send the information from the boss to the mobile phone.
CAM Lock
Cam lock, as the name implies, is Mechanical key lock. Our mechanical lock series products are divided into 12mm, 16mm and 19mm according to size also could be divided into Cabinet CAM Lock with keys and Drawer CAM Locks without keys
This cam lock cover a wide range of applications and can be used in large entertainment equipment, like ,vending machines, mechanical equipment, lockers, etc.

We have introduces high-precision CNC numerical control milling machine and multiple automatic processing equipment at home and abroad to improve cam lock` s precision,insuring all the cam lock cant be replaceable or copy. The specification is as follows:
Zinc alloy die cast housing and cylinder
Barrel chrome plated standard
Tumbler mechanism is pin or disc
It could be zinc alloy tubular Key Switches or flat key switch or without keys enter
Key may be withdraws in one or both positions
Hex nut or speed clip mounted
Have Multiple combination function.
CAM Lock,Cabinet CAM Lock,Safe CAM Lock,Drawer CAM Locks
YESWITCH ELECTRONICS CO., LTD. , https://www.yeswitches.com