Welcome to the Power-Union, your go-to resource for power technology insights, industry trend analysis, and the latest in power products. Join thousands of power supply professionals who share their expertise and experiences. Follow us on WeChat by searching "Power-Union" and grow with China's dynamic power industry.
Despite the rise of system-on-chip (SoC) solutions and readily available development boards, many applications still require custom PCBs. Even in one-time projects, a well-designed PCB can make a significant difference in performance and reliability. Whether you're an experienced engineer or just starting out, understanding the fundamentals of PCB design is essential.
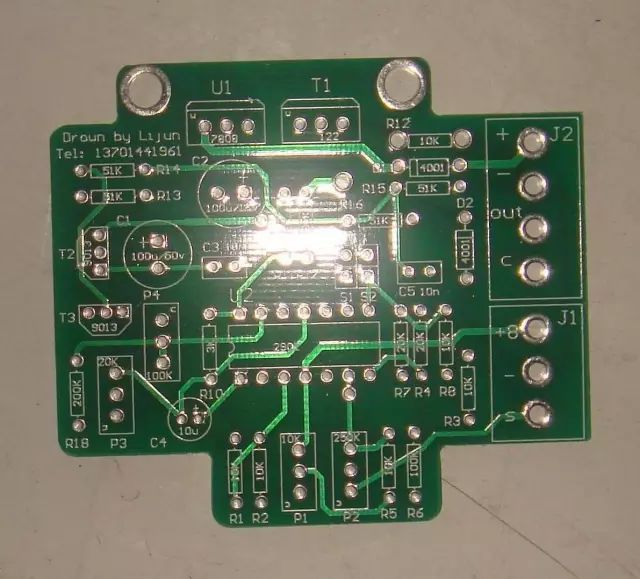
A PCB serves as the physical foundation for electronic circuits and offers the greatest flexibility when integrating components. This article outlines ten golden rules that have stood the test of time and are applicable to all levels of PCB design. These guidelines are especially useful for young engineers and invaluable for manufacturers looking to streamline their production processes.
Here are the top ten PCB design rules that every engineer should keep in mind during layout and manufacturing:
Rule 1: Choose the Right Grid – Always use a grid that matches the component package sizes. While multi-grid systems may seem useful, they can cause issues with polygon fills and copper placement. A single, consistent grid ensures better results and reduces errors during the manufacturing process.
Rule 2: Keep Traces Short and Direct – Minimize trace length wherever possible. This is especially important in high-speed and analog circuits where parasitics and impedance can greatly affect performance. Optimizing trace routing from the start can save time and improve signal integrity.
Rule 3: Use Power Planes for Power and Ground Distribution – Utilize power planes for efficient power delivery and ground return paths. They reduce resistance and voltage drop, ensuring stable operation. When possible, place multiple power lines close together and ensure the ground plane covers most of the board layer.
Rule 4: Group Components Strategically – Place related components, such as op-amps with their bypass capacitors and resistors, close to each other. This not only improves signal integrity but also makes testing and troubleshooting easier.
Rule 5: Optimize Panelization – Replicate your design across a larger panel to reduce manufacturing costs. Work with your manufacturer to determine the best panel size and adjust your layout accordingly for maximum efficiency.
Rule 6: Standardize Component Values – Use standard values whenever possible to simplify the BOM and reduce inventory costs. This also helps in long-term planning and ensures consistency across different product lines.
Rule 7: Run Design Rule Checks (DRC) – Perform DRC checks regularly during the design phase. It’s a quick step that can save hours of rework later. It ensures that your design meets all necessary constraints and avoids costly mistakes.
Rule 8: Use Screen Printing Effectively – Label components, test points, and orientation on both sides of the board. This makes it easier for manufacturers, testers, and installers to understand the design without confusion. Clear labeling saves time and reduces errors.
Rule 9: Don’t Skip Decoupling Capacitors – Avoid relying solely on component datasheets for decoupling. Capacitors are inexpensive and play a critical role in stabilizing power supplies. Use them generously and choose standard values to keep things simple.
Rule 10: Verify Manufacturing Files Before Submission – Export Gerber files yourself and review them using a free viewer before sending them to the manufacturer. This helps catch any errors early and prevents costly production delays.
As circuit design becomes more collaborative and reference designs become more common, these fundamental rules remain crucial. By mastering them, engineers can enhance product performance, reduce costs, and gain confidence in their designs. Whether you're new to PCB design or an experienced professional, keeping these rules in mind will help you create better, more reliable boards. Start applying them today and see the difference they make in your next project.
Power Meter is a monitoring and testing instrument which determines the power consumption of a connected appliance and the cost of the electricity consumed.
Built-in 3.6V rechargeable Batteries ( . The purpose of the batteries is to store the total electricity and memory setting
Resetting
If an abnormal display appears or the buttons produce no response, the instrument must be reset. To do this,
press the RESET button.
Display Mode
Entire LCD can be displayed for about 1 minute and then it automatically gets into Model. To transfer from
one mode to the other, press the FUNCTION button.
Mode 1: Time/Watt/Cost Display Display duration(how long) this device connect to power source.LCD on first line shows 0:00 with first two figures mean minutes(2 figures will occur while occur at 10 min) and the rest shows seconds. After 60mins, it displays 0:00 again with first two numbers meas hour(2 figures will occur at 10hours)and the rest shows minutes. The rest can be done in the same manner which means after 24 hours, it will re-caculate. LCD on second line displays current power which ranges in 0.0W 〜 9999W. LCD on third line displays the current electricity costs which ranges in O.Ocost 〜 9999cost. It will keep on O.OOcost before setting rate without other figures.
Mode 2: Time/Cumulative electrical quantity Display Display duration(how long) this device connect to power source.
LCD on first line shows 0:00 with first two figures mean minutes(2 figures will occur while occur at 10 min) and the rest shows seconds. After 60mins, it displays 0:00 again with first two numbers meas hour(2 figures will occur at 10hours)and the rest shows minutes. The rest can be done in the same manner which
means after 24 hours, it will re-caculate. LCD on second line displays current cumulative electrical quantity which ranges in 0.000KWH 〜 9999KWH without other figures. LCD on third line displays"DAY"- "1 'Will be showed on numerical part(the other three figures will be showed at carry) which means it has cumulated electrical quantity for 24hours(one day). The rest can be done in the same manner untill the maximal cumulative time of 9999 days.
Mode 3: TimeA^bltage/Frequency Display LCD on first line displays the same as Mode 1 dones. LCD on second line displays current voltage supply (v) which ranges in 0.0V 〜 9999V .LCD on third line displays current frequency (HZ) which ranges in 0.0HZ 〜 9999Hz without other figures.
Mode 4: Time/Current/Power Factor Display LCD on first line displays the same as Mode 1 dones.LCD on second line displays load current which ranges in 0.0000A 〜 9999A. LCD on third line displays current power factor which ranges in 0.00PF 〜 LOOPF without other figures.
Mode 5:Time/Minimum Power Display LCD on first line displays the same as Mode 1 dones. LCD on
second line displays the minimum power which ranges in 0.0W 〜 9999W. LCD on third line displays character of "Lo" without other figures.
Mode 6: Time/Maximal Power Display LCD on first line displays the same as Mode 1 dones. LCD on second line displays the maximal power which ranges in 0.0W 〜 9999W. LCD on third line displays character of "Hi" without other figures.
Mode 7: Time/Price Display LCD on first line displays the same as Mode 1 dones. LCD on third line displays the cost which ranges in O.OOCOST/KWH 〜 99.99COST/KWH without other figures.
Overload Display: When the power socket connects the load over 3680W, LCD on second line displays the''OVERLOAD[ with booming noise to warn the users, (selectable choice)
Supplemental informations:
1: Except [OVERLOAD[ interface, LCD on first line display time in repitition within 24hours.
2: LCD on first line, second line or third line described in this intruction take section according to two black lines on LCD screen. Here it added for clarified purpose.
3. Mode 7 will directly occur while press down button "cost".
4. [UP"&"Down" are in no function under un-setting mode.
Setting Mode
1. Electricity price setting
After keeping COST button pressed lasting more than 3 seconds(LCD on third line display system defaults price, eg O.OOCOST/KWH ),the rendered content begins moving up and down which means that the device
has entered the setting mode. After that, press FUNCTION for swithing , then press "UP"and "DOWN" button again to set value which ranges in OO.OOCOST/KWH 〜 99.99COST/KWH. After setting all above, press COST to return to Mode7 or it will automatically return to Mode7 without any pressing after setting with data storage.
Power meter socket, Energy meter socket, Energy meter cost socket, Power meter cost socket, Energy power meter socket
NINGBO COWELL ELECTRONICS & TECHNOLOGY CO., LTD , https://www.cowellsocket.com